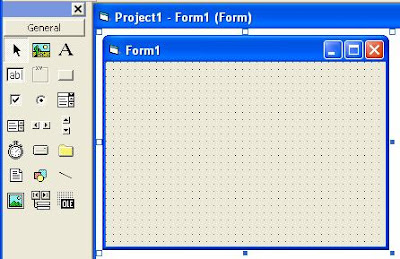
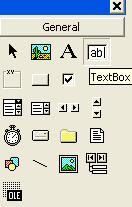
In the previous posting I've told you that one of Visual Basic Development Environment's element is Toolbox, that contains controls. And another element is Form Design window (Form). You can place controls into your Form to build your VB application.
Now, how to place controls from Toolbox into your Form? Ok, it's just a simple way to do that. You just click, drag and drop the control you want. Or also you can double-click the icon Toolbox of the control you want.
There are two manners to place (add) controls to a form. The first manner is double-click the Toolbox icon of the control you want to add. In instance it will place the control with default size in the centre of active form.
When you adding more than one controls with this way, they will be placed on the top of each other in the center of the form. Then you can reposition/rearrange them into new place you want in the form.
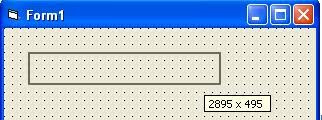
The second manner, you can follow below steps:
After you add controls to your form, you can reposition them to new location in the form, and also you can resize them according to your need. That are the way how to add / place control to your Visual Basic form.
Ok, I think you get it. And I'll write another Visual Basic tips in the next posting.
How to Add Controls to Form in VB6 Programming
Subscribe to:
Post Comments (Atom)
Labels
- Stop Dreaming Start Action (1)
- Table of Contents (1)
- VB6 Programming (36)
- VB6 Sample Program (16)


0 comments:
Post a Comment